
I've been a little obsessed with Pinterest lately. I mean, I could care less about Facebook and Twitter these days. Maybe not completely true, but I am loving finding my crafty self again! There was a time (true story) that I was on staff at a church as a children's ministry intern in charge of all the crafting for the entire summer at my home church. I ran kids crafts for a mission trip back in 2006. I love to craft, but I haven't done it for myself in years until Pinterest came along. Suddenly, I see things like this being "pinned" on Pinterest...

So now that I'm off I decided to take some of my "free time" to make a Christmas card holder for our wall at home. I went to Hobby Lobby and purchased some basic supplies to mimic the $75 version above. Yes, they sale these for $75!
What you'll need:
1. Various size paint brushes ($5.99 with 30% off sale)
2. Acrylic paint (I bought the cheap $0.67 version with 30% off sale)
3. a canvas (mine was $8.99 with a 40% off coupon)
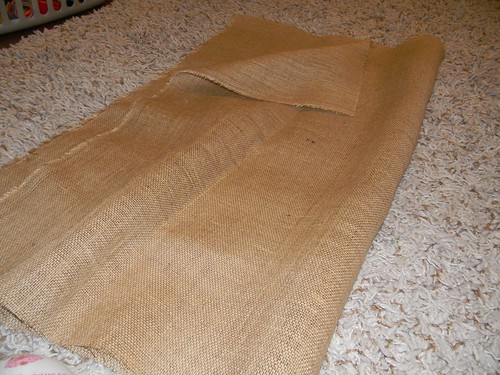
4. one yard of burlap ($3.99)
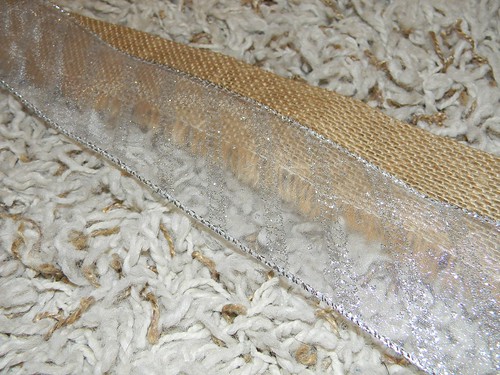
5. various ribbon (purchased 90 feet of deco mesh for $4.99 and had the red ribbon from a student Christmas gift for free)
I originally thought I'd free hand the words and paint around them.
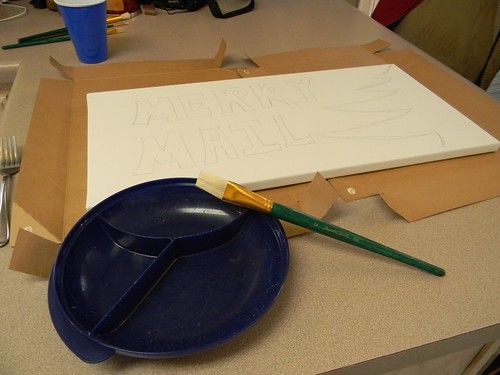
I quickly decided I'd rather take my chances painting on top of some deep colors.

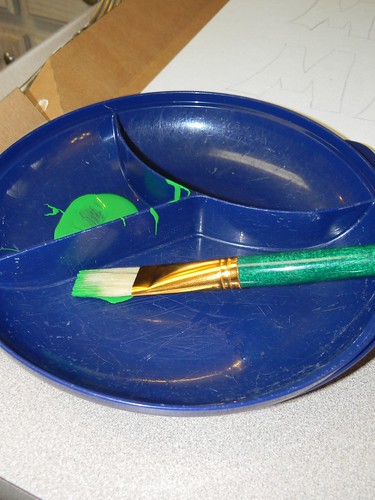
I used a kiddie plate with three separate compartments to separate my green, red, and white.
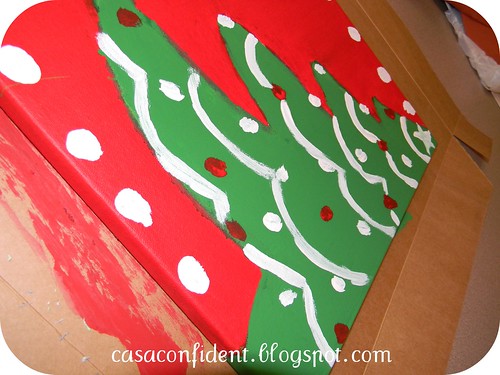
I painted a kid like tree on the right side because I thought their version needed something a little extra. I painted the left side a deep red.
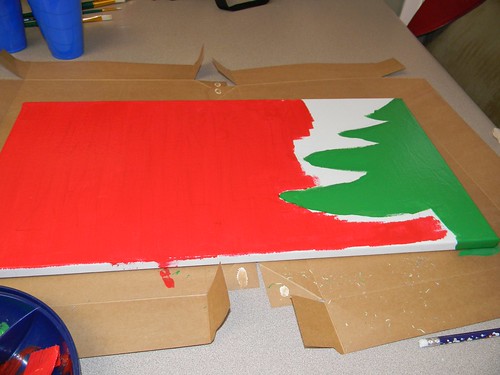
Make sure to paint all around the sides so that you don't have a white canvas left over.

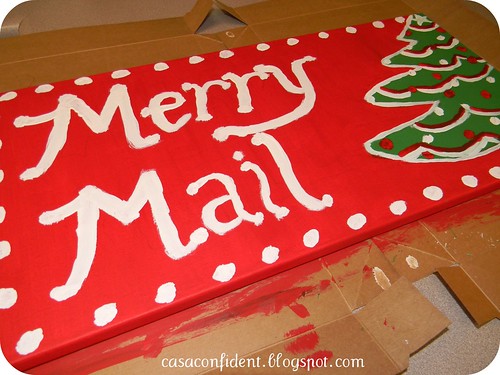
Then I started with the penmanship. The hardest part was the actual writing, and I'm still not happy with it. But it will do for my first time painting on a canvas.
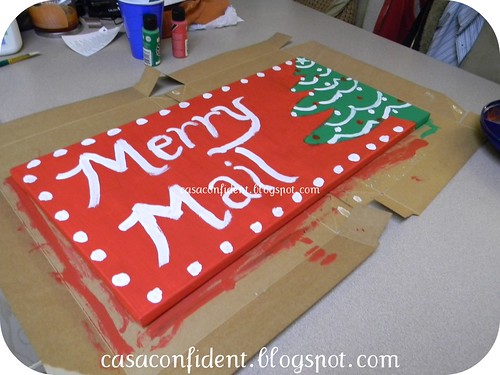
I noticed I had some "bleed lines" so I decided to remedy that by painting white on top of those lines to make the tree look "flocked."
This took a lot of time, I won't lie. I started at noon, and I was done (with several hours of dry time) by about seven that evening.
Then I got out my burlap purchased at HobLob and started cutting long narrow strips.
I took the assorted ribbons and layered them on top of the burlap and glued them down with the hot glue gun.
In the end, I had something that looked like this!
(You can see my white polka dots on red inspiration came directly from the ribbon off a student gift.)
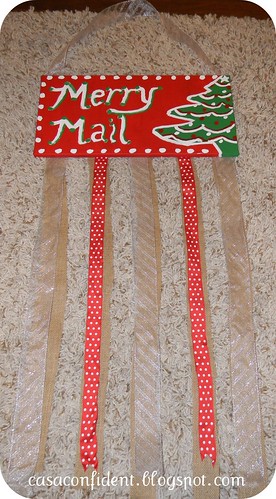
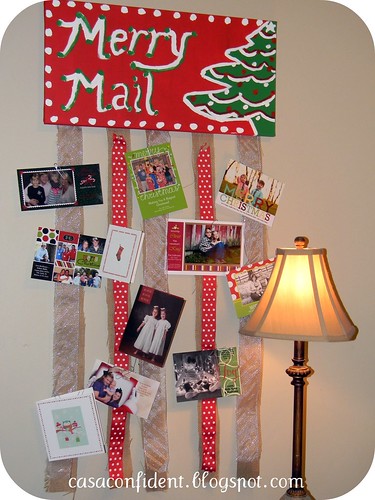
Here it is hanging up in my living room!
I LOVE IT!
I'm super proud of myself, and we can use this over and over.
I made it for a little over twenty bucks.
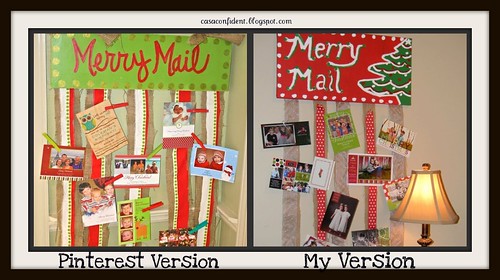
And here is the side by side comparison of the two:
Now go out and get Pinspired!
This is so cute! I love it. :)
ReplyDelete